Setting up MITMProxy to Inspect App Traffic
Sometimes you may just want to be able to see what exactly an App may be sending to it’s creators. This is a quick “just get it running" how-to style article on setting up mitmproxy on a Digital Ocean droplet based on this write up.
If you don’t have a Digital Ocean account, check it out. It’s a cheap and fast way to spin up a quick pristine VM to do some hackery.
You’ll need a mobile device. (If you’re trying to use this for a laptop or desktop computer, you may have better luck using another tool run locally). I have a spare old iPad and I’ve wiped it and set it up with the bare minimum configuration for what I want to inspect. All Apple services are disabled, and only the specific App I want to test is installed. This will minimize the noise from other apps. If you don’t have another device, you could use your own, however note that it may be difficult to find/follow the traffic flow you’re wanting to inspect.
Let’s get started.
For this project, I used the base el-chepo 1GB/1 core/25 GB/$5mo/$0.007hr droplet with Ubuntu 16.04 image. Don’t forget to put your ssh keys on it to make access super-simple.
Once your droplet is spun up, login as root and install the required packages for mitmproxy. I used the ubuntu package instead of the pip package, as I had issues getting pip and the correct dependancies to work.
apt-get update
apt-get upgrade -y
apt-get install -y mitmproxy
Start up mitmproxy and generate the cert to install on your device. You’ll get the mitmproxy console. Press Ctrl-C to exit.
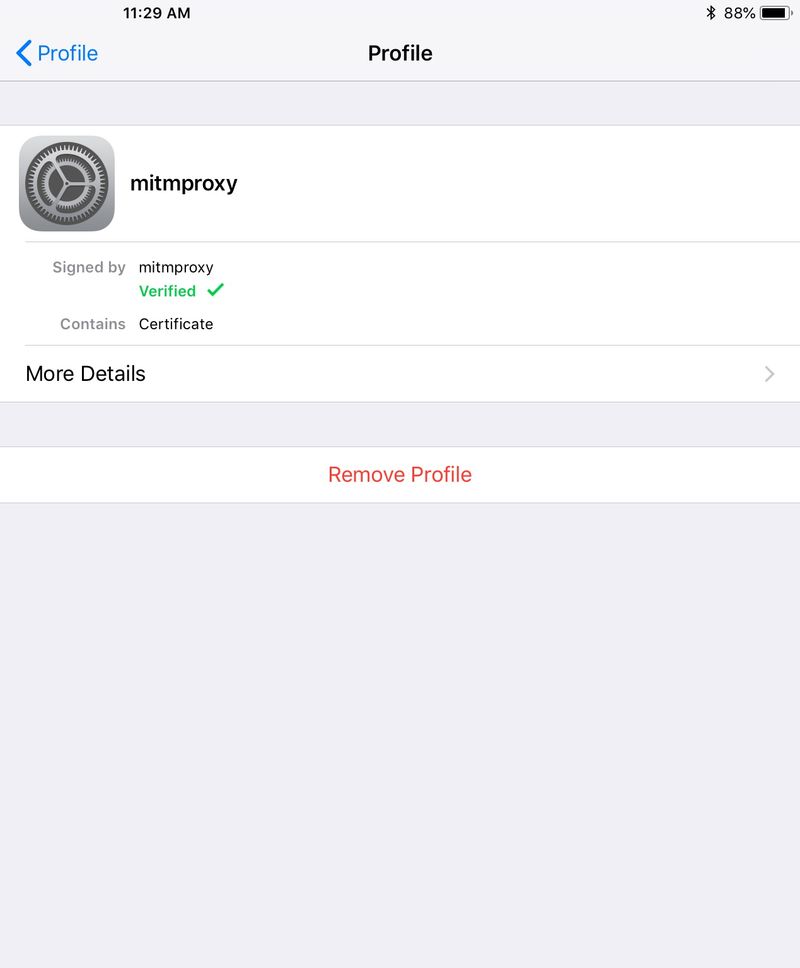
Find the certs in the ~/.mitmproxy/mitmproxy-ca-cert.pem. I copied them to my Mac and used Airdrop to get them to the iPad. You could also email them, but you’ll need to setup email on your device. Once Installed, verify in Settings > General > Profile.
For the latest versions of iOS, you must explicitly enable full trust for the mitmproxy CA certificate. Go to Settings > General > About > Certificate Trust Settings, and enable for the mitmproxy certificate.
Next, setup mitmproxy as a proxy server. Go to Settings > WFi > [select your wifi connection] > Configure Proxy. Set to Manual, and enter the IP of your droplet for the server, and port 8080.
Launch mitmproxy again, and you should see traffic!
IMPORTANT : Don’t leave mitmproxy running for the whole world! For simplicity, I did not provide any firewalling instructions, or authentication for mitmproxy. Use mitmproxy for short sessions. Otherwise, if you leave it running, it’s open to the whole world, and it's one portscan away from being discovered. If you forget, you’ll likely get you banned by Digital Ocean if it’s used to attack others!